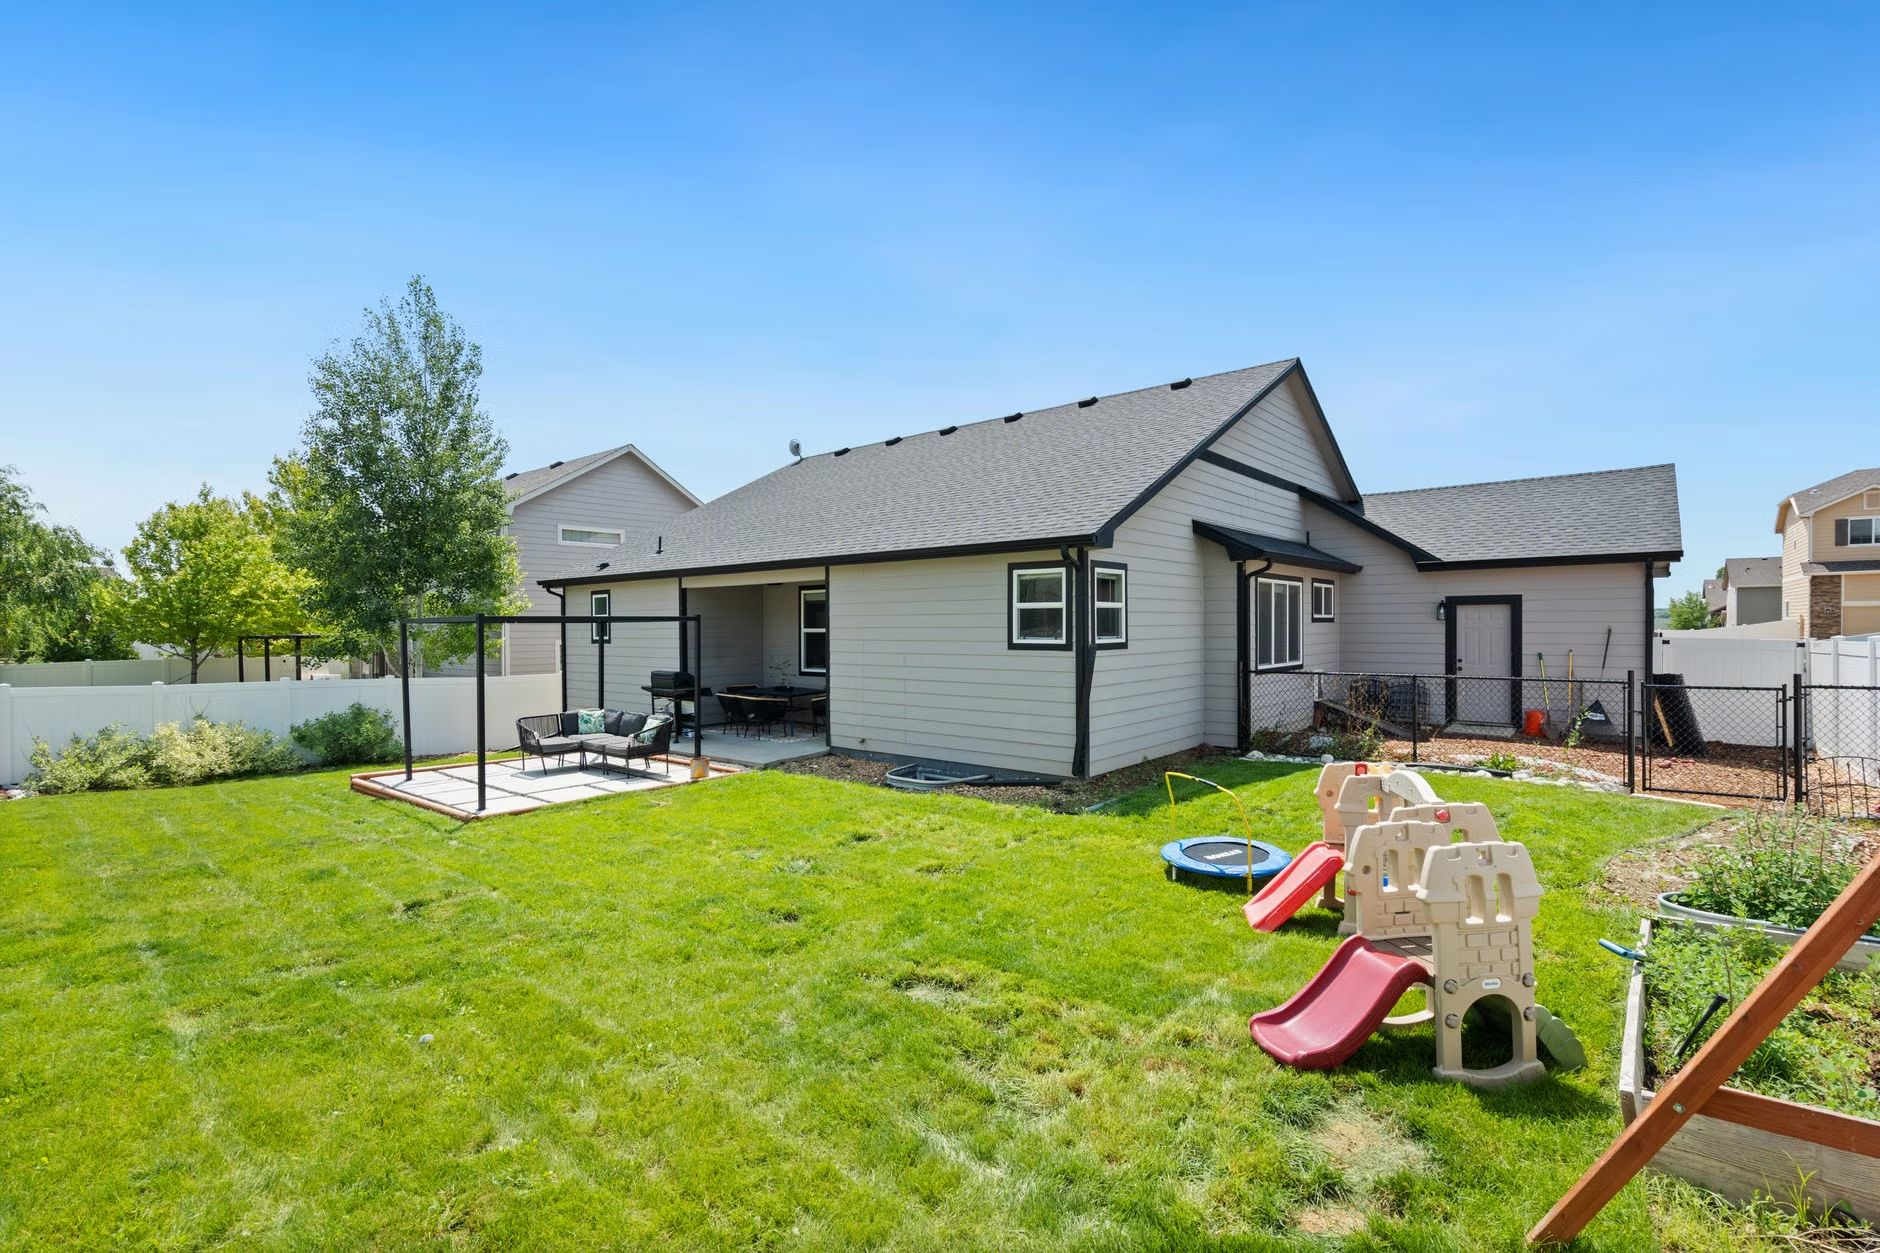
Expensive-looking backyards rarely depend on luxury materials alone. More often, they depend on editing. A modest yard can look far more polished than a larger, pricier one if the layout is clear, the finishes repeat, and the practical clutter fades into the background. That is encouraging for anyone working with a real budget, because the best upgrades are often edging, paint, gravel, lighting, planting, and restraint rather than a full outdoor kitchen or a custom masonry project.
What makes a low-cost backyard read as high-end
The easiest way to judge any upgrade is to run it through what you might call the Cohesion-Scale-Concealment test. It is a simple rule for avoiding the “spent money, still looks random” problem that sinks a lot of backyard makeovers.
- Cohesion: Repeat a small number of materials and colors. One fence color, one gravel tone, one planter style, and one lighting temperature usually look more expensive than lots of competing finishes.
- Scale: Make fewer, larger gestures. Two oversized planters usually look better than eight small pots. One generous gravel seating area looks better than several tiny decorative patches.
- Concealment: Hide the practical stuff. Hose reels, cords, broken bed edges, mismatched plastic storage, and visible utility clutter can instantly cheapen the look of an otherwise good yard.
If the budget is limited, start with the largest surfaces the eye notices first: lawn edges, planting beds, fences, sheds, hardscape outlines, and lighting after dark. Accessories matter, but only after the backdrop stops looking accidental.
Start with the problem your yard has right now
| If the yard looks… | Start with… | Why it reads as more expensive | Budget band |
|---|---|---|---|
| Undefined or patchy | Crisp edging and deeper mulched beds | Clean lines make the whole space feel intentional | $ |
| Faded and tired | Fence or shed paint/stain | A finished backdrop upgrades everything in front of it | $ |
| Cluttered and busy | Fewer large planters plus concealed storage | Bigger pieces feel curated instead of accumulated | $ |
| Like there is nowhere to gather | A gravel seating zone or anchored furniture grouping | A defined “room” makes the yard feel designed | $$ |
| Flat or awkward at night | Warm layered lighting | Good lighting adds atmosphere and structure | $ – $$ |
| Too exposed | Privacy panels, curtains, or trellis screens | Partial enclosure makes even a small space feel intentional | $$ |
Once the main visual problem is fixed, the rest of the upgrades work harder. That is how a budget makeover starts looking expensive instead of piecemeal.
Fix the backdrop before you buy accessories
1. Cut crisp lawn and bed edges
One of the cheapest upgrades is also one of the most effective: redefine every bed and lawn line. Even simple grass and ordinary shrubs look better when the edges are clean and consistent. Use broad curves or straight runs, not lots of wobbly little turns. The goal is to make the yard feel drawn, not improvised. If there is time for only one weekend project, this belongs near the top of the list.
2. Make planting beds deeper, then mulch with intent
Many builder-grade yards look cheap because the planting beds are too narrow. Widening them by even a foot or two can change the proportions of the whole space. A deeper bed gives plants room to layer, creates shadow lines, and makes the lawn look more deliberate. Finish with one mulch or gravel treatment rather than mixing several textures. If you live in a wildfire-prone area, be more careful with decorative mulch near structures and fence lines: NIST found that mulch combined with fences can intensify fire spread. (nist.gov)

3. Paint or stain the fence, shed, or retaining wall one quiet color
A faded fence can make an entire backyard feel worn out, even when the patio furniture is new. Painting or staining the perimeter in one restrained color is usually a high-payoff move. Dark brown, charcoal, black, weathered green, and cedar-toned stains often work well because they recede visually and make greenery stand out. This is also one of the best upgrades for small yards, since a unified backdrop reduces visual noise.
4. Swap pot clutter for fewer, larger matching planters
A cluster of random undersized pots usually reads as leftovers. Two or three larger matching planters read as a design choice. Set them where they reinforce an entry, gate, dining zone, or view from the house. Keep the planting simple: one bold grass, a small shrub, or a restrained mix of spiller and upright forms. This is also a good place to repeat a material already used elsewhere, such as matte black, aged terracotta, or faux stone.

5. Hide hoses, storage, and visual clutter
Backyard luxury is often just the absence of mess. A simple storage bench, hose pot, slatted screen, or painted utility enclosure can do more for the overall look than another decorative object. The key is to hide the necessary ugliness without making access difficult. If screening mechanical equipment, avoid blocking ventilation or service access. If hiding trash bins, make sure the enclosure still works on collection day. Practical concealment only looks good when it stays practical.
Create one outdoor room that feels designed
6. Lay a pea gravel or decomposed granite seating zone
A defined ground plane is what turns “some chairs in the yard” into an outdoor room. Pea gravel and decomposed granite are often much cheaper than pouring new concrete or laying a full paver patio, but they can still look refined when edged properly and kept simple. The biggest mistake is making the area too small. Size it for furniture plus circulation. If the space needs to accommodate strollers, wheelchairs, or rolling carts, compacted surfaces or larger-format hardscape may be a better fit than loose gravel.

7. Add a simple paver path with breathing room
A path instantly suggests planning. It gives the eye a route and makes the backyard feel composed. One budget-friendly version is a stepping-stone path with gravel, mulch, or groundcover between the pavers. What makes it look expensive is spacing, alignment, and scale. Skinny little stepping stones can look temporary; larger pavers with consistent gaps feel intentional. Keep the path wide enough for normal walking and level enough that it does not become annoying after the first week.
8. Use an outdoor rug to anchor the furniture
An outdoor rug is one of the easiest ways to make inexpensive seating look more pulled together. The rule that matters most is size. A rug that is too small makes furniture float awkwardly and can make the setup look cheaper, not better. In most cases, at least the front legs of the seating should land on the rug. Choose a low-contrast pattern or a texture-rich solid rather than something loud that competes with plants, pillows, and fencing.
9. Build one bench that looks built-in
A long straight bench against a fence, planter edge, or side wall can mimic the feel of custom seating without the price of a full built-in installation. This works especially well in narrow yards where separate chairs eat up circulation space. Paint or stain the bench to match the fence or nearby wood tones so it looks integrated. Add one bench cushion and a couple of neutral pillows and stop there. Too many small textiles can undo the clean effect.
10. Add a small fountain or water bowl
A compact recirculating fountain can deliver a disproportionate sense of refinement, especially in small suburban yards where traffic noise or neighboring sounds are part of the backdrop. The most convincing versions are simple: a bowl, urn, or minimalist pedestal rather than a fussy multi-tier imitation. Place it where it can be seen from indoors or from the main seating spot. If the yard lacks a convenient outlet, factor that in early; a cheap fountain does not feel budget-friendly once extension cords take over the scene.
Lighting and privacy are where the luxury signal gets strong
11. Use warm, shielded path and accent lighting
Good outdoor lighting makes a yard feel finished after sunset, but brighter is not automatically better. Warm, downward-directed light usually looks calmer and more expensive than glaring floodlight. DarkSky recommends aiming light only where it is needed, using timers or occupancy sensors, and choosing warmer outdoor lighting at 3000K or lower. The National Park Service similarly emphasizes using outdoor lighting only where it is necessary. That is useful design advice as much as it is responsible lighting practice. (darksky.org)

12. Hang string lights only where they frame a destination
String lights still work, but only when they are used with discipline. Run them over a dining area, a bench corner, or a gravel lounge zone so they define a destination. Random zigzags across the entire yard can quickly look temporary. Taut lines, sturdy anchor points, and warm bulbs matter more than quantity. Think of them as a ceiling over one outdoor room, not as general-purpose lighting for every corner of the yard.
13. Add privacy with panels, curtains, or a trellis
Partial screening makes even a plain yard feel more intentional. A slatted wood panel, simple trellis, or outdoor curtain can hide an awkward view, soften a fence line, or create a sense of enclosure around a seating area. This is often more effective than trying to block everything. Total privacy walls can feel heavy and expensive in the wrong way. Filtered privacy, where light and air still move through the space, usually feels more sophisticated and more livable.
Plant like a designer, not a collector
14. Repeat plants in drifts, and match them to the site
Instead of buying one of everything that catches the eye, choose a short plant palette and repeat it. Groups of three, five, or seven of the same plant usually look more deliberate than isolated singles. Repeat shapes too: mounding shrubs, upright grasses, or a single flowering perennial used in several spots. If lower maintenance matters, match plants to the site rather than forcing a look the yard cannot support. BLM guidance on native landscaping notes that even native plants need correct siting and often need watering and weeding during establishment. If the beds dry out unevenly, microirrigation is one of the least glamorous but most valuable upgrades because the EPA says it delivers water to the root zone and can use 20% to 50% less water than conventional sprinkler systems in suitable landscapes. (blm.gov)
15. Add a compact fire feature only if the location truly works
A fire bowl or small fire pit can make a backyard feel finished fast, especially when it becomes the focal point of a seating area. But it is only a smart upgrade if the site supports it. The U.S. Fire Administration advises using outdoor fireplaces, chimineas, and fire pits at least 10 feet from the home or anything that can burn, supervising use, using a metal screen over wood-burning fires, and fully extinguishing the fire before leaving the area. Also check local rules, seasonal burn restrictions, lease terms, and HOA limits before buying anything. (usfa.fema.gov)
Outdoor outlets, hardwired lighting, gas lines, major retaining walls, and permanent roofed structures are not bargain categories if the work is outside your skill level. A cheap installation that creates drainage, electrical, or fire problems is not a bargain. Price in professional help when the project touches buried utilities, structure, or code-sensitive work.
A realistic way to combine these upgrades without overspending
Consider a hypothetical 20-by-30-foot backyard with a tired fence, a small concrete pad, scattered plastic pots, and a narrow strip of lawn. The smartest first phase is not fifteen unrelated purchases. It is four coordinated moves: stain the fence, cut clean bed edges and widen one border, create a gravel seating extension, and finish with two matching planters plus warm lighting. That combination works because each piece supports the others. The fence becomes a backdrop, the gravel creates a destination, the planters provide scale, and the lighting makes the whole composition hold together at night.
- Clear and reset the backdrop first: remove dead pots, trim overgrowth, clean surfaces, and re-edge the lawn before buying anything decorative.
- Upgrade the biggest visible plane next: the fence, shed, or the ground surface under the main seating area.
- Create one destination instead of several mini-projects: a gravel dining zone, a bench corner, or a fire-feature nook is enough for phase one.
- Finish with repetition: one planter style, one lighting style, and one restrained plant palette will make the budget feel intentional.
Mistakes that make a budget makeover look cheaper, not better
- Using too many materials at once. Gravel, red mulch, stamped concrete, bright cushions, and mixed metal finishes can fight each other fast.
- Buying items that are too small. Tiny planters, narrow rugs, and undersized seating pads are common budget mistakes because they look temporary.
- Overlighting the yard. Harsh blue-white bulbs and exposed glare can flatten the atmosphere and make the space feel more commercial than welcoming.
- Ignoring maintenance. Luxury-looking spaces stay that way because dead annuals, weeds, stained cushions, and dirty pavers are dealt with quickly.
- Adding features without checking the site. Gravel is not ideal everywhere, privacy screens need stable anchoring, and fire features demand real clearance and local rule checks.
The most convincing luxury signal is upkeep. Fresh mulch, neatly pruned plants, straight cushions, and working lights do more for the impression of the yard than a pile of new accessories that are hard to maintain. Choose upgrades you can keep looking crisp.
The expensive look comes from restraint, not volume
If there is one takeaway, it is this: a backyard starts looking expensive when it stops looking accidental. Clean edges, one finished backdrop, a defined sitting area, disciplined lighting, repeated planting, and hidden clutter usually outperform a long list of trendy purchases. Start with the biggest visual problem, solve it cleanly, and let the next upgrade build on that logic. The result is not just a prettier yard. It is a yard that feels composed.
FAQ
Which upgrade usually delivers the biggest visual change for the least money?
For most yards, the best first combination is crisp edging, a refreshed mulch bed, and a painted or stained fence. Those three moves change the backdrop and proportions of the space before any furniture or decor enters the picture.
Is a dark fence always the right move?
Not always. Dark colors often make plants stand out and visually simplify the yard, but they can feel too heavy in a very shaded space or too heat-absorbing in some climates. A muted brown, soft green, or cedar-toned stain can achieve the same quiet-backdrop effect with less contrast.
What is the better budget patio surface: gravel or pavers?
Gravel is usually cheaper and flexible for irregular spaces, which makes it great for informal lounge areas. Pavers usually feel cleaner under dining furniture and are easier for rolling carts or mobility devices. The better choice depends on how the space will actually be used.
How do I make inexpensive outdoor furniture look better?
Anchor it with a properly sized rug, reduce the number of pieces, keep the color palette tight, and pair it with larger planters or a stronger backdrop. Cheap-looking furniture often improves when the surrounding space looks intentional.
Do string lights and fire pits still work in a small backyard?
Yes, but only when they are used selectively. String lights are strongest when they define one dining or seating zone instead of the whole yard. Fire pits can also work in small spaces, but the U.S. Fire Administration advises keeping them at least 10 feet from the home or anything combustible and extinguishing them fully after use. (usfa.fema.gov)
What if I want a more polished yard but less watering?
Start by reducing the number of thirsty, mismatched plants and repeating a smaller palette better suited to your light, soil, and drainage. If you are reworking planting beds, microirrigation can also help deliver water directly to the root zone and use less water than conventional sprinklers in appropriate settings. (epa.gov)
References
- U.S. National Park Service – Outdoor Lighting Principles – https://www.nps.gov/subjects/nightskies/outdoor-lighting-principles.htm
- DarkSky International – Responsible home outdoor lighting – https://darksky.org/what-we-do/advancing-responsible-outdoor-lighting/home/
- U.S. Environmental Protection Agency WaterSense – Microirrigation – https://www.epa.gov/watersense/microirrigation
- U.S. Fire Administration – Outdoor Fire Safety – https://www.usfa.fema.gov/prevention/outdoor-fires/
- National Institute of Standards and Technology – NIST Study Finds Wildfire Hazards in Residential Fences and Mulch Beds – https://www.nist.gov/news-events/news/2022/08/nist-study-finds-wildfire-hazards-residential-fences-and-mulch-beds
- Bureau of Land Management – Landscaping with Native Plants of the Intermountain Region – https://www.blm.gov/documents/national-office/blm-library/technical-reference/landscaping-native-plants-intermountain