
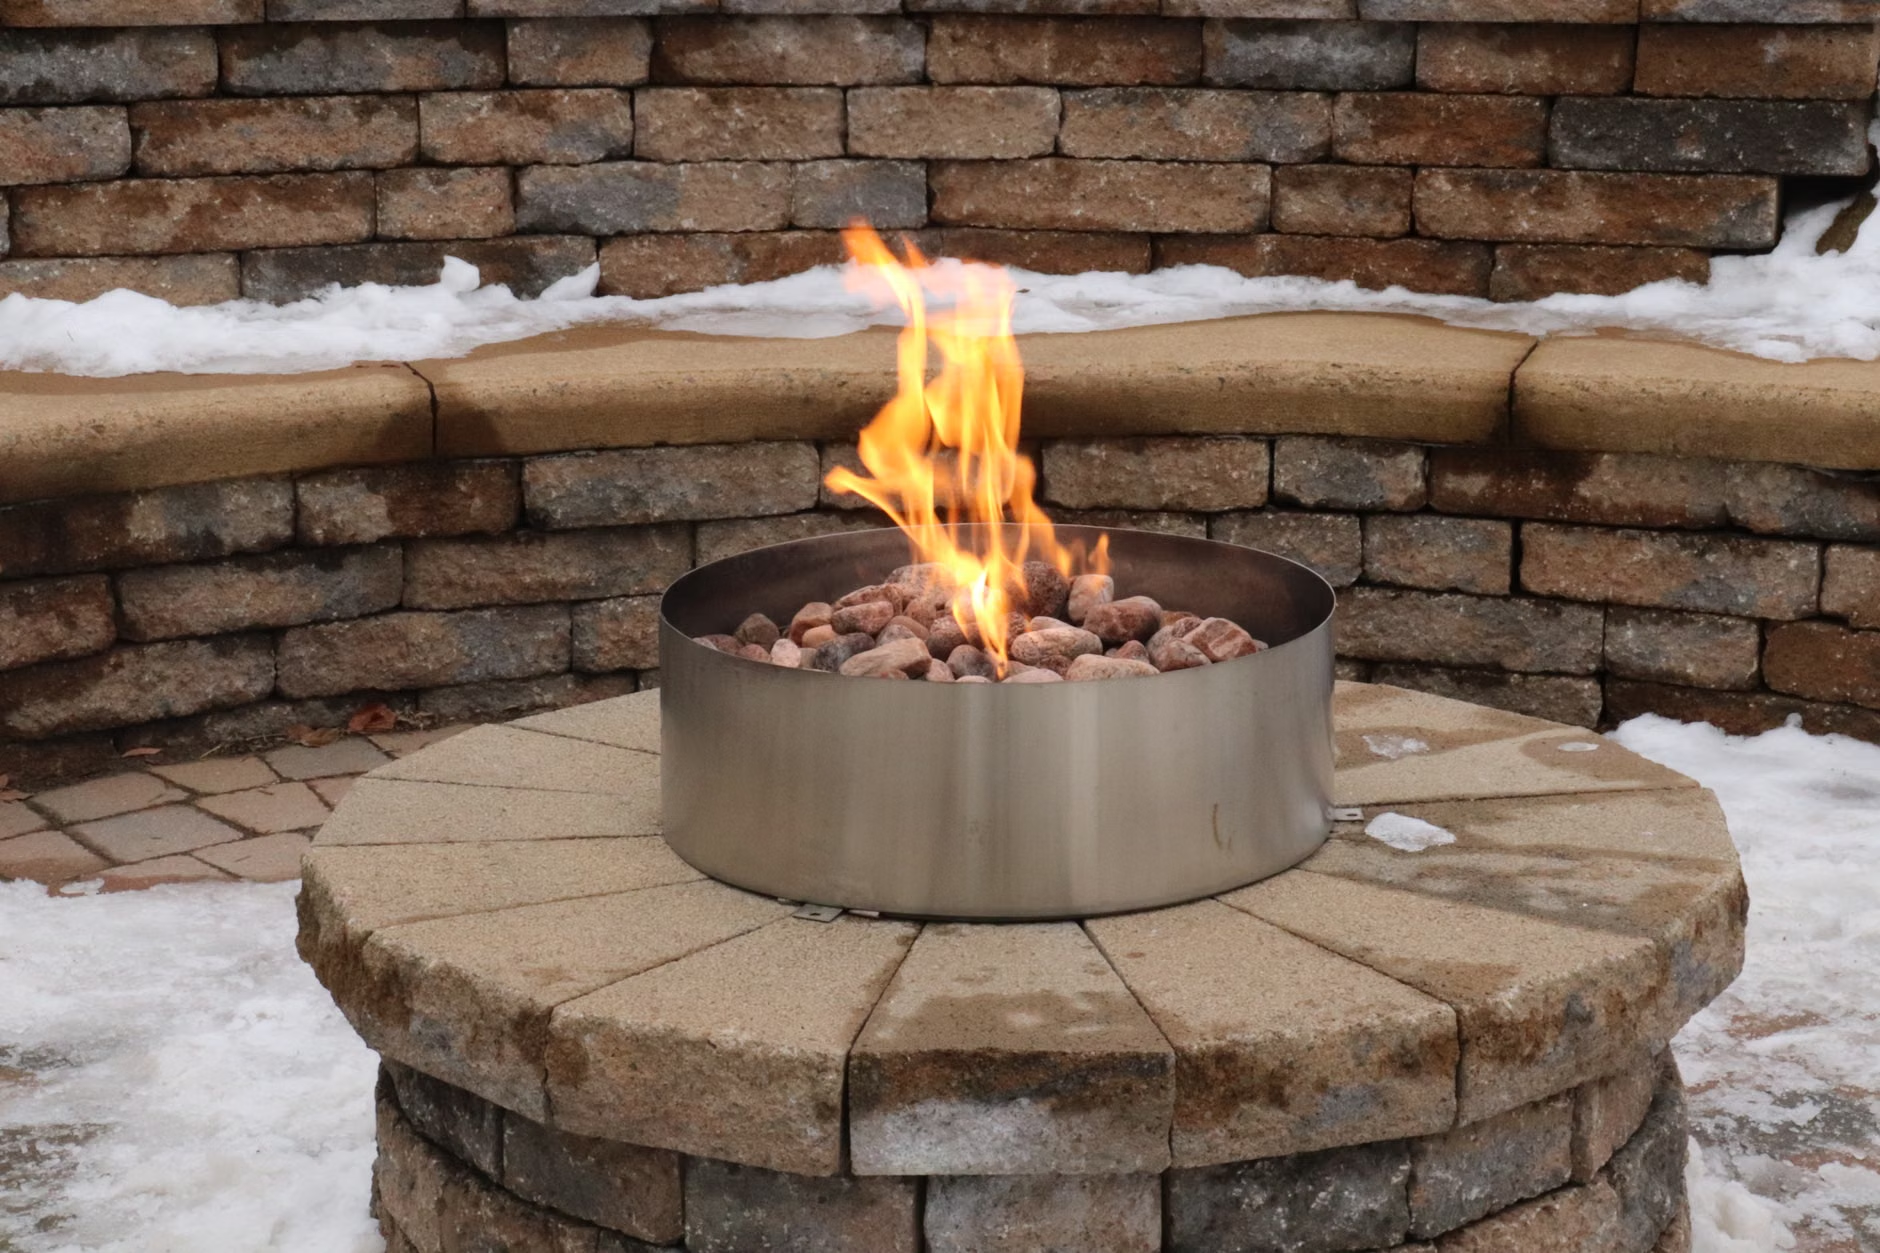
A backyard fire pit can be a very approachable DIY project, but the part that keeps it affordable is the same part that keeps it safe: staying simple. For most homeowners, that means a modest dry-stacked ring, a noncombustible base that stays level, and an interior liner or insert meant to handle the fire itself. Official guidance also makes clear that the ring is only part of the job. Placement, clearance, supervision, and fuel choice matter just as much as the masonry. (nfpa.org)
The safest low-cost build is usually the simplest one
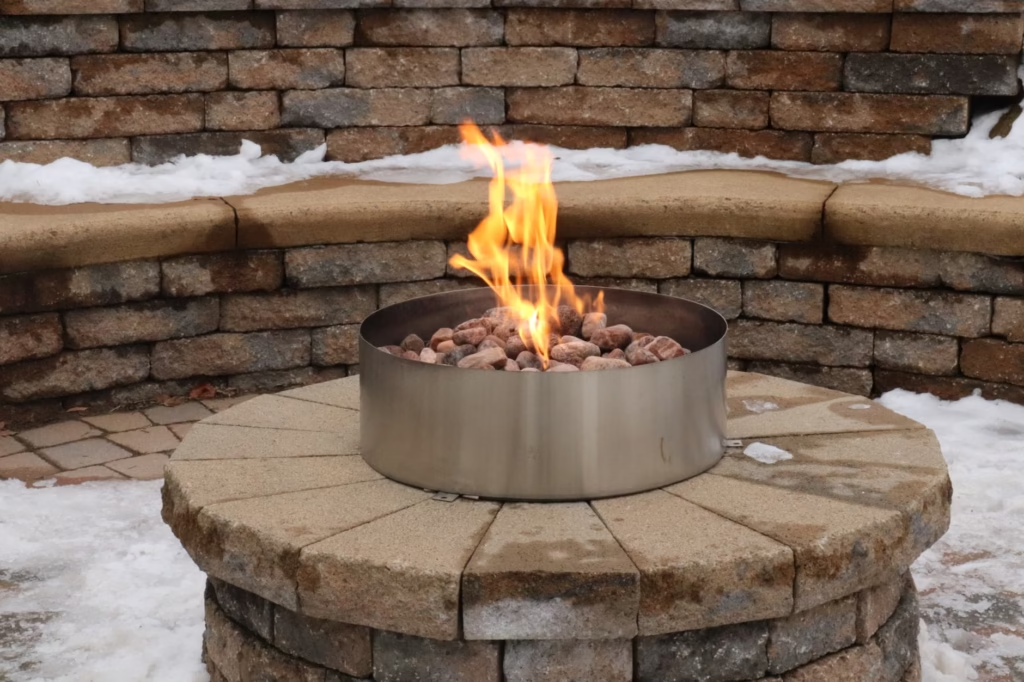
For most backyards, the sensible build is a circular or square surround made from compatible fire pit block or wall block, set on a level compacted base, with a steel insert inside. Manufacturer instructions from Pavestone and Rockwood both use that basic logic: prepare a stable base, stack the courses, and use the insert to protect the block from high heat. (pavestone.com)
That approach is not flashy, but it stays in the lane promised by the title: simple, safe, and affordable. It avoids poured footings, complex masonry, and a lot of guesswork. It also keeps repair options open later. If the plan depends on custom stone cuts, a built-in seating wall, or a gas line, the project may still be worthwhile, but it is no longer the straightforward budget fire pit most readers are actually trying to build.
Run the Heat, Sparks, and Water check before you buy materials
Before choosing block color or ring shape, assess the project with a simple decision tool: heat, sparks, and water. It sounds basic, but it catches most bad plans early. Heat asks whether direct flame is touching materials meant to take it. Sparks asks whether the pit has safe clearance and a controllable environment. Water asks whether rain and ground moisture will undermine the base, pool where heat will be concentrated, or create a messy, shifting setup over time.
- Heat: A good plan keeps the fire inside a steel liner or another heat-rated interior system, and keeps the whole pit at least 10 feet from anything that can burn. A bad plan relies on direct flame against unprotected surround materials or squeezes the pit next to siding, fencing, or deck elements. (nfpa.org)
- Sparks: A good plan has open space above the pit, no low branches or eaves, and enough room to use a screen if local rules require one. A bad plan sits under branches, beside fabric shade, or in a wind tunnel between structures. NFPA also advises avoiding outdoor burning on windy, dry days. (nfpa.org)
- Water: A good plan starts on a level, compacted base and follows the kit or insert instructions for fill, adhesive, and curing. A bad plan starts on soft lawn, muddy soil, or a low spot that holds water after rain. Manufacturer-designed systems assume the base is stable before the first block is set. (pavestone.com)
Local rules vary more than many DIYers expect. Check with the local fire department or municipality before you build or burn, ask about permits and seasonal restrictions, and do not assume that an HOA, county, or air-quality agency treats backyard fires casually. EPA also advises against burning during air quality alert days and notes that some local governments restrict backyard recreational fires. (nfpa.org)
Location matters more than the block color
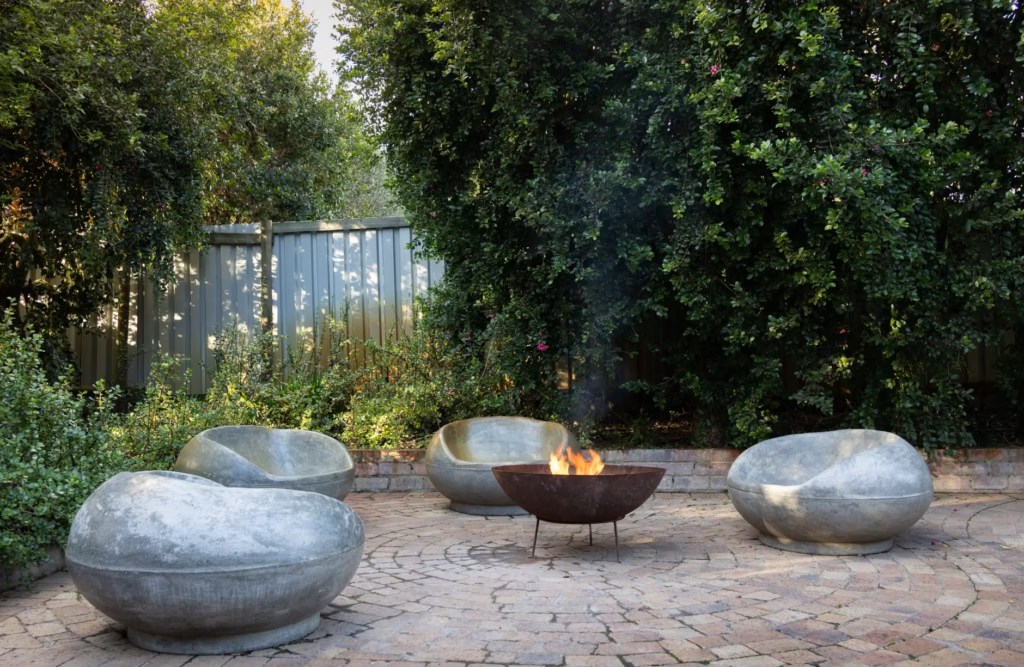
Official fire safety guidance is consistent on the main siting rules: use fire pits outdoors only, place them at least 10 feet from anything that can burn, keep them away from siding, decks, deck railings, tents, grass or vegetation, eaves, and overhanging branches, and put them on a level surface that will not catch fire, such as patio blocks, brick, or concrete. Clear the area of trip hazards too. A fire pit that looks attractive but forces people to step over loose stones in the dark is not a safe build. (nfpa.org)
| Site question | Safe signal | Red flag | Why it matters |
|---|---|---|---|
| Do I have safe clearance? | Meets local rules and, at minimum, sits 10 feet from anything combustible. (nfpa.org) | Closer than the local minimum, or squeezed beside siding, a fence, or a deck. | Heat and embers do not care that the fire pit fit the sketch. |
| What is overhead? | Open sky or very high, well-clear branches. | Low limbs, eaves, pergolas, fabric shade, or other overhead combustible surfaces. (nfpa.org) | Vertical clearance is easy to forget until sparks start lifting. |
| What is under the pit? | Brick, concrete, patio block, or a properly built gravel or paver base. (nfpa.org) | Grass, mulch, roots, uneven soil, or loose stones that create trip points. | The base affects both fire safety and long-term stability. |
| Where will smoke go? | There is enough space that wind direction and neighbor impact can be managed. EPA recommends considering both. (epa.gov) | The layout funnels smoke toward doors, windows, or the main seating area. | A pit that constantly smokes out the yard rarely gets used. |
| Can people move around it safely? | There is room for seating, clear walk paths, and a 3-foot kid-free zone. (nfpa.org) | Tight traffic flow, toys near the edge, or a slope that encourages trips. | A controlled fire is only part of a safe evening. |
A hypothetical example makes the point. Suppose the only flat space in a small yard is 12 feet from the house but directly under a maple canopy and beside a mulched bed. That is technically close to workable in one dimension and obviously poor in two others. The smart budget move is not to force a masonry ring into that corner. A portable steel bowl on a safer gravel pad farther out, or no fire pit at all, is the better decision.
Choose materials that help the pit stay simple
Many manufacturer-designed block kits pair landscape block with a steel insert and a prepared base. That detail matters. The insert is not decorative; it is there to protect the block from direct high heat. Some systems also call for gravel or sand fill and a curing period before the first fire. If your plan does not use a liner, switch to materials specifically intended for direct fire exposure and follow those product instructions rather than improvising. (pavestone.com)
- A steel fire ring or insert sized for the planned opening, or another interior system specifically intended for the fire itself. (pavestone.com)
- Block or stone supported by the manufacturer for the chosen assembly, rather than random leftover units from another landscape project. (pavestone.com)
- Crushed gravel or paver base for a stable, compacted foundation. (pavestone.com)
- A screen cover if local rules require one or the site tends to throw sparks. (nfpa.org)
- Dry, seasoned firewood for later use, not green lumber or demolition scraps. (epa.gov)
- A metal ash container with a tight lid, plus a hose, bucket of water, or shovel and sand nearby when the pit is in use. (nfpa.org)
A practical step-by-step build sequence
The exact block count, base depth, and liner size should come from the kit or insert you actually buy. Before any digging, contact 811. PHMSA says every digging project, including small home projects, requires that step. Then build only within local fire rules and the manufacturer’s instructions. If the product instructions conflict with generic advice from a how-to article, the local authority and the product instructions should win. (phmsa.dot.gov)
- Confirm the rules and utility marks first. Check the local fire department or municipality for setbacks, permits, screens, fuel restrictions, and seasonal burn bans. Then contact 811 and wait for utilities to be marked before you excavate. (nfpa.org)
- Choose the footprint carefully. Dry-fit the ring or set the insert on the ground to visualize the finished size. Make sure the chosen location still preserves safe side and overhead clearance once chairs and circulation space are added. (nfpa.org)
- Strip away sod, mulch, roots, and other organic material until you reach firm ground. This is not glamorous work, but it is what keeps the project from settling or smoldering where it should not.
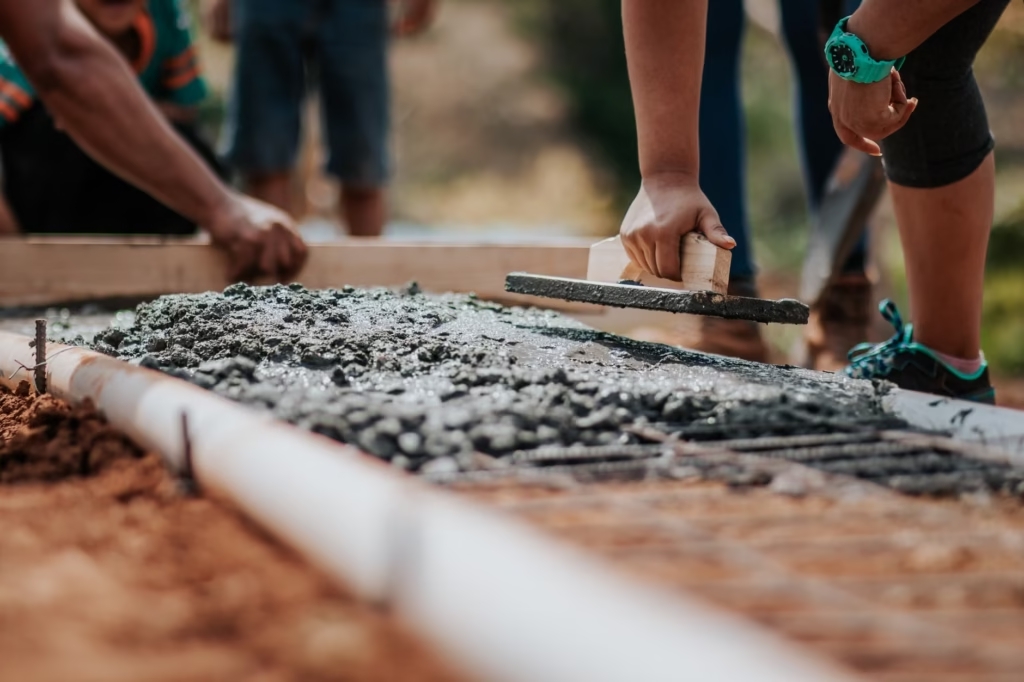
- Build a stable, level base. Add the gravel or paver base called for by the system, compact it, and check level in several directions. Pavestone and Rockwood both start with a level, compacted base because a crooked first course becomes a crooked fire pit. (pavestone.com)
- Set the first course slowly. Fit the blocks tightly, confirm the opening matches the insert plan, and correct wobble now instead of hoping upper courses will hide it. Pavestone specifically notes that the insert can be used to approximate placement. (pavestone.com)
- Stack the additional courses with staggered joints. If the system calls for landscape adhesive, use only the amount and placement the instructions specify, and let it cure for the required time before lighting a fire. Rockwood says to let adhesive set for 24 hours before use in its kit instructions. (pavestone.com)
- Install the insert or other heat-rated interior components and add any required gravel, sand, or lava rock fill. Do not swap in decorative materials just because they are cheap or nearby. Use the materials called for by the build system. (pavestone.com)
- Do a small first burn, not a celebratory bonfire. Watch how the pit drafts, where smoke travels, whether any block shifts, and whether the layout still feels safe once people are sitting around it.
A small pit used correctly is usually more enjoyable than a huge pit overloaded with wood. NFPA recommends keeping outdoor fires controlled, and EPA notes that dry wood and hotter, cleaner-burning fires reduce smoke compared with green or smoldering wood. (nfpa.org)
Where budget builds usually go wrong
Most failed DIY fire pits are not aesthetic failures. They are judgment failures. The common pattern is building too close to combustibles, skipping the heat-protecting interior system, rushing the base, or treating fuel as an afterthought. NFPA advises burning only clean, dry hardwood seasoned at least six months in wood-burning fire pits, and EPA says seasoned wood burns cleaner while green wood, trash, construction waste, plastics, and treated lumber create more smoke or toxic emissions. Never use gasoline, lighter fluid, or other flammable liquids to start or relight the fire. (nfpa.org)
- Building on grass or mulch because proper base prep felt like extra work. It is extra work, and it is also the part that helps keep the pit level and on a surface that will not catch fire. (nfpa.org)
- Buying stone first and asking about setbacks later. If local clearance rules or frequent burn bans make regular use unrealistic, a movable steel pit may be the better value. (nfpa.org)
- Burning wet wood, scrap lumber, cardboard, or yard waste. That usually means more smoke, more complaints, and more mess. (epa.gov)
- Leaving ashes in a plastic bucket or regular trash can. NFPA recommends a metal ash container with a tight-fitting lid, stored away from anything that can burn. (nfpa.org)
- Using the pit on windy, dry days because the backyard feels controlled. NFPA warns that embers can ignite nearby structures or start a wildfire. (nfpa.org)
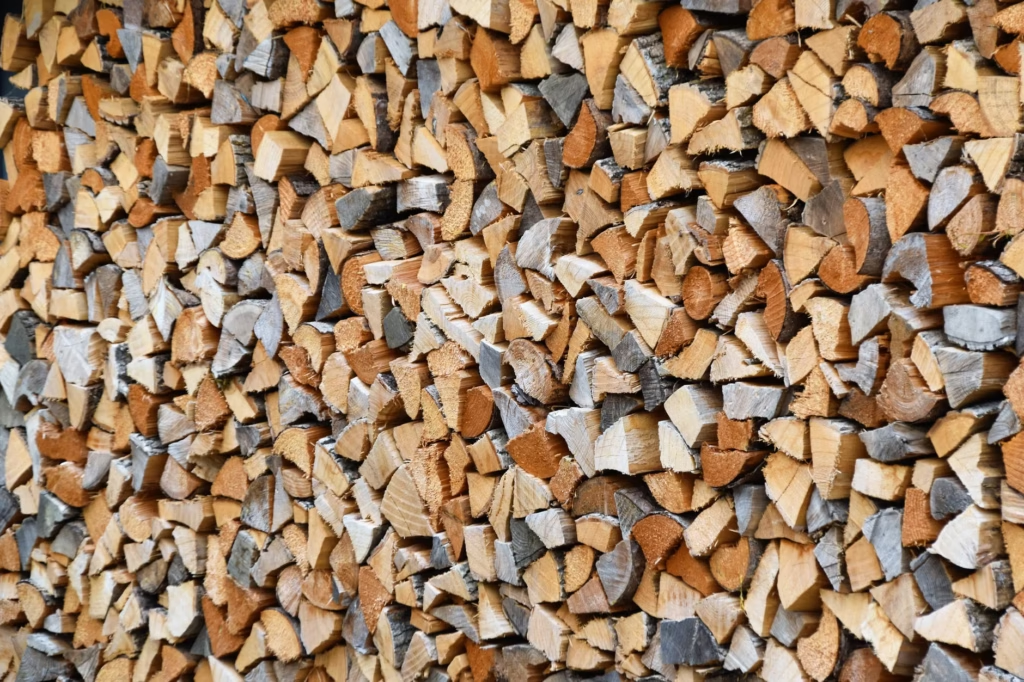
Use it like you built it for the long term
After the build, the maintenance routine is simple: keep the area around the pit clear, store wood dry, inspect the ring and block alignment before each season, empty cold ashes into a metal container, and stop using the pit if the surround shifts or local conditions make burning risky. None of that is complicated, but it is what turns a cheap weekend project into something that stays usable for years. (nfpa.org)
If there is one rule that improves the entire project, it is this: spend more thought on siting and heat management than on stone style. Choose a conservative location, use a heat-protecting liner, build on a level noncombustible base, and keep the fuel clean and dry. That is the version of a DIY fire pit that still feels simple after the first season, not just on shopping day. (nfpa.org)
FAQ
Do I need a permit for a backyard fire pit?
Sometimes. NFPA advises checking with the local fire department or municipality for restrictions and permits before starting outdoor burning or using a fire pit, and EPA notes that some local governments restrict backyard recreational fires. Even if a permanent permit is not required, temporary burn bans or air-quality alerts can still limit use. (nfpa.org)
Can I build a fire pit directly on lawn if I add gravel later?
That is not the safe default. NFPA says a fire pit should sit on a level surface that will not catch fire, such as patio blocks, brick, or concrete, and the surrounding area should be clear of fall hazards. In practice, that means removing the combustible surface and building a proper noncombustible base rather than setting block on top of grass. (nfpa.org)
Is a steel insert really necessary?
Many manufacturer-designed block systems include one specifically to protect the block from high heat. If your planned system does not, use only materials and details that the manufacturer rates for direct fire exposure. Omitting the insert just to save money is a shortcut that can make the whole build less durable and less predictable. (pavestone.com)
What wood should I burn?
NFPA recommends clean, dry hardwood seasoned at least six months for wood-burning fire pits. EPA recommends seasoned, dry wood and says wood burns best at less than 20 percent moisture content. EPA also says not to burn construction waste, treated wood, plastic, garbage, or yard waste. (nfpa.org)
How do I fully put out the fire and handle ashes?
NFPA says to make sure the fire is completely out before leaving it. For wood fires, apply water until there is no remaining heat, glow, or flame, then dispose of cooled ashes in a metal container with a tight-fitting lid kept away from anything that can burn. (nfpa.org)
References
- NFPA Educational Messages Desk Reference - https://www.nfpa.org/-/media/project/storefront/catalog/files/home-fire-safety/emac/educationalmessagesdeskreference.pdf?rev=967564ad45c84627bb02b5baef0dc12c
- U.S. Fire Administration: Outdoor Fire Safety - https://www.usfa.fema.gov/prevention/outdoor-fires/
- U.S. EPA: Backyard Recreational Fires - https://www.epa.gov/burnwise/backyard-recreational-fires
- U.S. EPA: Best Wood-Burning Practices - https://www.epa.gov/burnwise/best-wood-burning-practices
- PHMSA: April Is National Safe Digging Month - https://www.phmsa.dot.gov/safety-awareness/april-national-safe-digging-month
- Pavestone RumbleStone Round Fire Pit Instructions - https://www.pavestone.com/technical-resources/installation-instructions/RumbleStone/Pavestone-RS/RumbleStone-Round-4Layer-FirePit.pdf
- Rockwood Scout Fire Ring Kit Cut Sheet - https://rockwoodwalls.com/resources/cut-sheets/cut-sheet-scout-fire-ring.pdf