
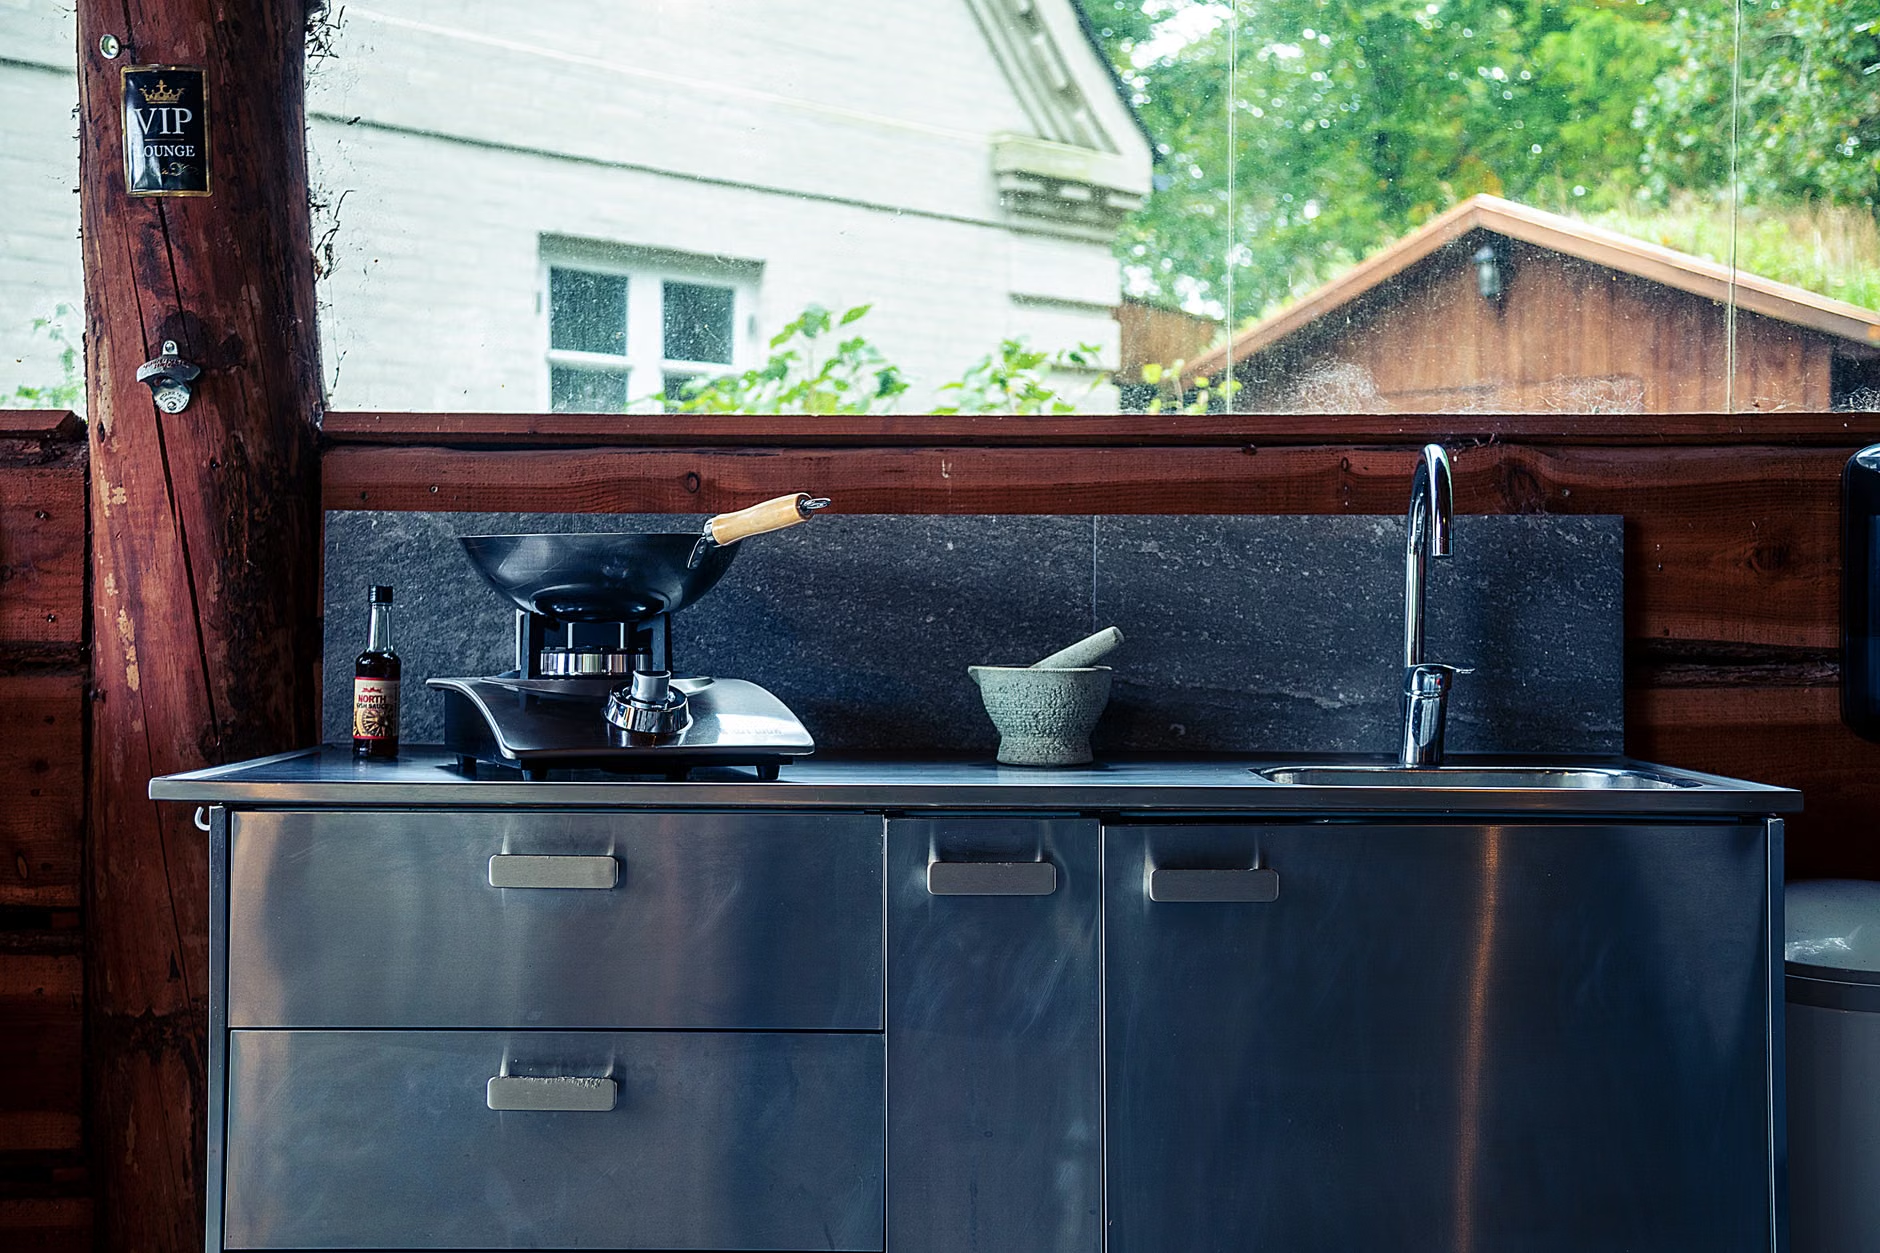
A low-cost outdoor kitchen usually goes over budget for a simple reason: it tries to imitate a fully loaded indoor kitchen before the homeowner has decided what actually needs to happen outside. Most people do not need a sink, beverage center, pizza oven, side burner, and long island on day one. They need a reliable place to grill, enough counter space to set down trays and tools, some weather-tolerant storage, and a layout that does not make them walk back and forth all evening.
The money disappears into the permanent parts, not the decorative ones. Site prep, framing, countertops, electrical work, gas piping, drainage, and the wrong appliance in the wrong environment are what turn an affordable plan into an expensive correction. Many cities also treat added gas piping, extra wiring or outlets, and new plumbing fixtures as permit work, which means the cheapest project on paper can become the most expensive one if it starts without a plan. (portland.gov)
- Build the smallest layout that supports how you actually cook outside.
- Spend on permanent elements like the base, countertop, weather exposure, and utility work; save on replaceable items like accessories, seating, and decorative finishes.
- Put the kitchen close to the house, close to existing utilities, and on an existing hard surface whenever possible.
- Delay the sink and refrigerator until regular use justifies their cost and complexity.
- Check permits, outdoor electrical protection, and appliance suitability before buying materials or built-ins. (portland.gov)
Use the Permanent vs. Replaceable Rule
A useful way to control spending is what you might call the Permanent vs. Replaceable Rule. If a component is buried, wired, piped, mortared, or built into the structure, treat it as a long-term investment and get it right the first time. If a component can be swapped out with a screwdriver, rolled away, or upgraded later without demolition, it is a candidate for budget shopping.
This sounds obvious, but it is the opposite of how many outdoor kitchens get designed: people splurge on the grill head and then cheap out on the counter depth, drainage, electrical safety, and weather protection that determine whether the space is enjoyable five years later.
- Spend more confidently on stable base construction, countertop space, safe utility work, drainage, and weather exposure planning.
- Save more aggressively on stools, open shelving, décor, serving carts, and add-on cooking gadgets.
- Treat lighting, trash storage, and landing space as essentials, not luxury upgrades.
- Assume any feature that needs gas, plumbing, or a dedicated circuit costs more than the fixture itself.
- If a feature can wait a year, it probably should.
Choose a layout before you choose finishes
The most affordable outdoor kitchens are usually straight runs, not elaborate islands or U-shapes. A straight run keeps the footprint compact, reduces countertop area, simplifies framing, and shortens utility paths. Before looking at stone veneers or cabinet doors, decide which layout matches the way the space will be used.
| Layout | What it includes | Best for | Main budget risk |
|---|---|---|---|
| Grill station | One grill, real landing space, basic storage | Weeknight grilling and simple hosting | Too little counter space, so the indoor kitchen still does all the work |
| Prep line | Grill, longer counter, closed storage, task lighting | Most households that cook outside regularly | Buying too many built-ins instead of protecting prep space |
| Entertaining wall | Prep line plus serving zone or beverage fridge | Frequent guests and longer stays outdoors | Fridge, power, and cabinetry raise cost quickly |
| Full-service kitchen | Sink, refrigeration, larger utilities, more built-ins | Homes that truly use the space like a second kitchen | Plumbing, drainage, winterization, and permit complexity |
For many homes, the sweet spot is the prep line: one good grill, generous landing space on at least one side, a smaller secondary counter, enclosed storage for tools, and enough light to cook after dark. That setup feels complete without triggering the cost spiral that comes with a sink, multiple appliances, and long utility runs.
As a hypothetical example, a simple wall run near the back door often works better than an island farther out in the yard because it keeps the cook connected to the house, cuts steps, and avoids building extra finish surfaces on every side.
Put the kitchen where construction is cheapest, not where the rendering looks best
The cheapest location is usually close to the indoor kitchen, near an exterior wall that already has utility access, and on an existing patio or slab. That placement reduces trenching, piping, conduit, and carrying distance. It also makes the outdoor kitchen feel more useful on ordinary nights, which matters more than how dramatic it looks from the far edge of the yard.
Location still has to respect safety. CPSC advises using a grill at least 10 feet away from the house or any building, and the U.S. Fire Administration says grills should be placed well away from siding, deck railings, eaves, and overhanging branches. That generally makes a tucked-under overhang or a tight deck corner a poor candidate, even if it seems convenient. (cpsc.gov)
This is also the point to be realistic about structure. Heavy masonry, stone cladding, large countertops, and appliances can add more load than an older deck was ever meant to carry. A ground-level patio is usually the lower-risk, lower-cost base. If the project must go on a raised deck or near retaining walls, it is worth getting qualified structural guidance before materials are ordered, not after cracks or sagging show up.
Spend on surfaces and function, not appliance count
When money is limited, countertop space usually returns more value than adding another cooking gadget. A grill without landing space is frustrating; a modest grill with a serious prep zone feels useful. That is why many budget builds succeed with a simpler base: a sturdy framed structure, modular metal units, stainless prep tables, or even a well-integrated cart-and-counter combination instead of a full custom cabinet package. Premium finishes can wait. Good workflow cannot.
The refrigerator is where false savings often backfire. Manufacturers warn that standard indoor units are designed for more controlled conditions. LG recommends a dry, shaded, well-ventilated location within a defined ambient range, and Sub-Zero says indoor units are not suggested for outdoor installation and may lose warranty coverage if installed there. Its guidance also notes that non-outdoor models are not designed to operate in below-freezing conditions. If a fridge will live outdoors year-round, use a model meant for that environment or skip the fridge until the budget supports the right one.
If you do buy one, ENERGY STAR says certified refrigerators are about 9 percent more energy efficient than models that merely meet the federal minimum standard. (lg.com)
Utilities are the real budget gatekeeper
A sink, an ice maker, a refrigerator, a grill, lighting, and outlets can look like separate wishlist items, but on the construction side they are a package of gas, water, drain, electrical, and inspection decisions. Cities vary, but Portland explicitly lists added gas piping and additional wiring or outlets as permit-triggering work, Sacramento lists new electrical circuits under minor permits, and San Diego groups residential electrical, plumbing/gas, and related work into its simple residential permit pathways. The lesson is not that every town works the same way. It is that permit and trade questions belong at the beginning of the project. (portland.gov)
- Call the local building department before buying appliances and ask what permits apply to gas, electrical, plumbing, structures, and hardscape.
- Map existing utility locations and measure the distance from the proposed kitchen site.
- Decide which features can stay portable for now, such as a rolling cart, cooler, or freestanding prep table.
- Get trade input early if the project involves new circuits, gas piping, or a sink.
- Phase the project so the permanent shell works well even if phase two never happens.
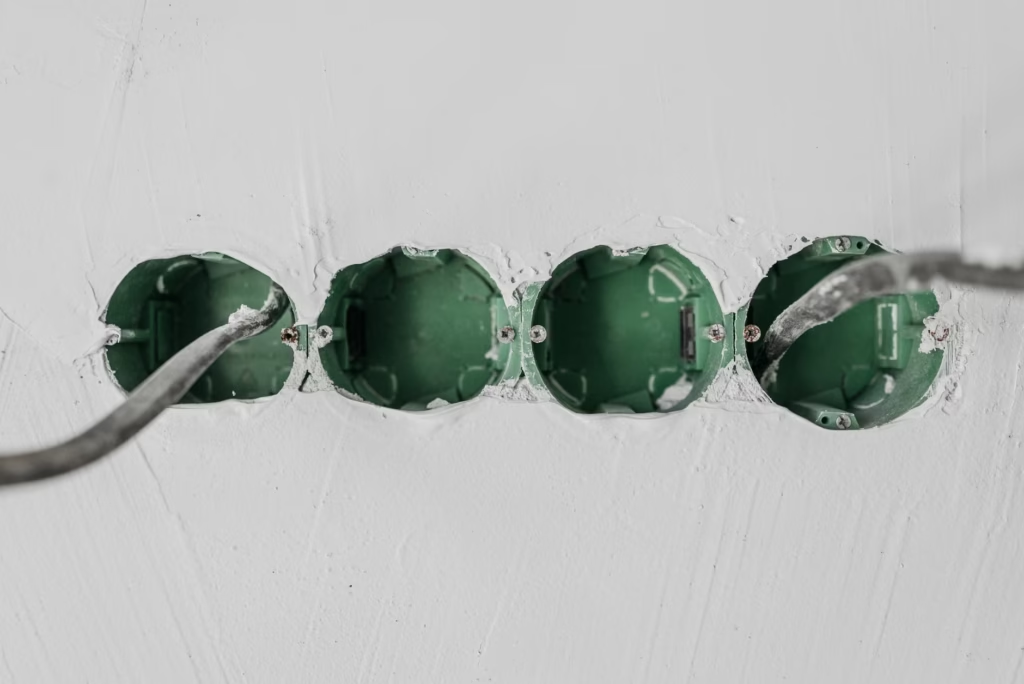
Outdoor electrical work is not the place to improvise. OSHA describes GFCIs as fast-acting protection against ground faults and notes that units approved for outdoor use should be in enclosures suitable for the environment. If there is any doubt about outlet protection, circuit capacity, or weather exposure, use a licensed electrician. (osha.gov)
The lowest-cost upgrades that actually improve cooking
- Add real landing space next to the grill before adding a second appliance.
- Include one closed trash spot or a simple pullout bin so packaging and scraps do not drift back indoors.
- Use task lighting over the cook zone instead of relying only on ambient string lights.
- Plan a place for tongs, towels, gloves, and a thermometer so the counter stays usable.
- Create shade for the cook if the site gets harsh afternoon sun.
- Leave open knee and walking space rather than filling every inch with cabinets.
Where DIY saves money and where it doesn’t
DIY can save real money on layout planning, demolition, cleanup, painting or staining, modular assembly, and some finish work. It is far less reliable as a savings strategy once the project involves gas lines, new circuits, outdoor receptacles, plumbing, or anything that will be inspected. Those are the trades where one shortcut can create a leak, a shock risk, a failed inspection, or a rebuild.
Budget-minded projects usually do better when the homeowner handles the easy labor and pays for the work that is hard to correct later. (portland.gov)
Mistakes that make a cheap build feel expensive
- Buying the grill first and designing everything else around it.
- Using premium cladding on a weak layout with almost no prep space.
- Adding a sink even though the indoor sink is only a few steps away.
- Installing an indoor refrigerator on an exposed patio and hoping for the best.
- Building too far from the house, which increases walking distance and utility cost.
- Treating decorative lighting as more important than safe task lighting and outlets.
- Forgetting storage for trash, fuel, covers, and cleaning supplies, so the kitchen never stays functional.
Do not cut the safety layer
Outdoor kitchens concentrate heat, grease, gas, electricity, food handling, and foot traffic in one place, so the budget should never come out of safety. USFA says grills should only be used outside, with a 3-foot safe zone around them, and CPSC warns never to use charcoal in enclosed areas such as garages, vehicles, or homes because of carbon monoxide danger. If the kitchen plan depends on squeezing a grill into an enclosed nook, the answer is to change the plan, not to accept the risk. (usfa.fema.gov)
Food safety matters just as much as construction safety. USDA advises using a food thermometer because grilled meat can brown quickly on the outside before it reaches a safe internal temperature. USDA also recommends keeping hot food hot, keeping cold food cold, using separate platters for raw and cooked items, and refrigerating leftovers within 2 hours, or within 1 hour when outdoor temperatures are above 90 F. A budget outdoor kitchen should still have a basic plan for hand cleaning, cold storage, and safe serving. (fsis.usda.gov)
A smarter budget move is to build in phases
A phased build is often the best answer for readers who want a finished-looking space without paying for everything at once. As a hypothetical example, phase one could be a grill, a serious prep counter, storage below, lighting, and a durable surface underfoot. Phase two could add better cladding, a serving ledge, or a more polished cabinet front. Phase three might add refrigeration only after a full season proves that cold drinks and make-ahead prep are actually the bottleneck. That sequence protects the budget because each phase works on its own, instead of depending on future spending to feel usable.
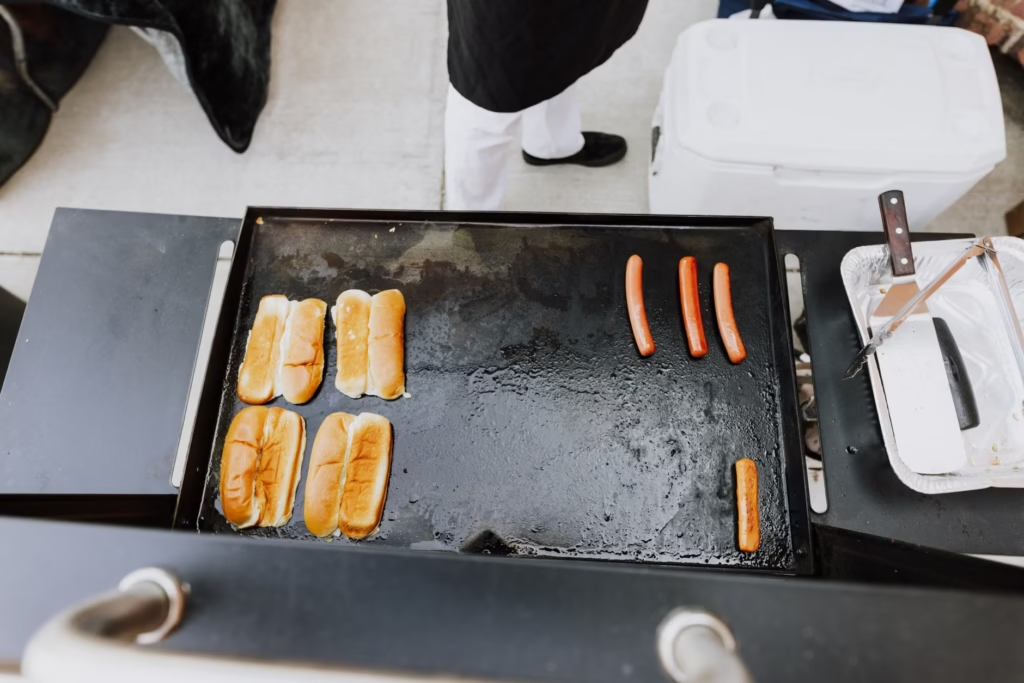
The affordable outdoor kitchen is not the one with the fewest pieces. It is the one that spends carefully on the pieces that matter. Keep the footprint tight, choose a site that limits construction work, protect the permanent infrastructure, and let convenience features earn their place over time. That approach usually creates a better kitchen and a safer one, which is a far better definition of value than simply building the cheapest thing possible.
FAQ
What is the cheapest way to start an outdoor kitchen?
Usually with a compact grill station or prep line rather than a full built-in suite. Start with one good cooking appliance, enough landing space, safe lighting, and basic storage. A straight run near the back door is often the most cost-effective layout because it limits utility work and keeps the space convenient.
Is an outdoor sink worth it on a budget project?
Only if it solves a real, frequent problem. If the indoor sink is close by, an outdoor sink may add more cost than value because water supply, drainage, freeze protection, and permitting can all raise complexity. It becomes more worthwhile when the outdoor space is used for longer prep sessions or frequent entertaining.
Can I use an indoor mini-fridge outside under a covered patio?
That is a risky gamble. Manufacturer guidance indicates that indoor refrigerators are intended for more controlled conditions, and Sub-Zero specifically says indoor units are not suggested outdoors and may lose warranty coverage if installed there. If the refrigerator will stay outside full-time, use one designed for that environment. (lg.com)
Do I really need permits for a simple outdoor kitchen?
Sometimes yes, sometimes no, and the details are local. What matters is that new gas piping, extra electrical circuits or outlets, and plumbing additions often trigger permits or inspections. Portland, Sacramento, and San Diego each show versions of that principle in their residential permit materials. Check before you buy, not after the structure is built. (portland.gov)
What is the most important safety item people forget?
A safe setup for the whole space, not a single gadget. That includes grill clearance from structures, outdoor-safe electrical protection, and a food safety routine. USDA recommends using a food thermometer and separating raw and cooked foods, while USFA and CPSC stress outdoor-only grill use and clearances from buildings and combustibles. (fsis.usda.gov)
References
- USDA FSIS: Grilling Food Safely - https://www.fsis.usda.gov/food-safety/safe-food-handling-and-preparation/food-safety-basics/grilling-food-safely
- EPA ENERGY STAR: Refrigerators - https://www.energystar.gov/products/refrigerators
- OSHA: Ground-Fault Circuit Interrupters (GFCI) - https://www.osha.gov/etools/construction/electrical-incidents/ground-fault-circuit-interrupters
- CPSC: Charcoal and Carbon Monoxide Safety - https://www.cpsc.gov/Safety-Education/Safety-Education-Centers/Carbon-Monoxide-Information-Center/Charcoal
- U.S. Fire Administration: Outdoor Fire Safety - https://www.usfa.fema.gov/prevention/outdoor-fires/
- Sub-Zero: Installing an Indoor Unit Outdoors - https://www.subzero-wolf.com/assistance/answers/multi-brand/installing-an-indoor-unit-outdoors
- Sub-Zero: Running in Cold Temperatures - https://www.subzero-wolf.com/assistance/answers/sub-zero/common/sub-zero-running-in-cold-temperatures
- LG USA Support: Refrigerator Installation on a Balcony - https://www.lg.com/us/support/help-library/lg-refrigerator-installation-can-the-refrigerator-be-installed-on-a-balcony-can-the-refrigerator-be-installed-in-a-storage-room-CT10000021-20154629492132
- Portland.gov: Residential Permits - https://www.portland.gov/ppd/residential-permitting/do-you-need-permit/residential-permits
- City of Sacramento: Minor Permits - https://www.cityofsacramento.gov/community-development/building/permit-services/minor-permits
- City of San Diego: Simple No-Plan Plumbing/Gas Permit - https://www.sandiego.gov/development-services/permits/plumbing-permit/simple
- CPSC: Grill Safety Tips - https://www.cpsc.gov/Newsroom/News-Releases/1997/CPSC-Releases-Grill-Safety-Tips